Engaging Videos with Easiio ScreenyFlow: Step-by-Step Guide
Creating engaging video content is no longer a complex task, thanks to ScreenyFlow by Easiio. With its Chrome plugin, you can create video content by converting your written text into video. This revolutionary tool makes it possible for anyone to create professional-looking videos, even without any prior experience in video production. In this article, we will take you through the process of creating a video with ScreenyFlow.
Steps to Create Video
Step 1: Write a Good Video Script
The first step in creating a video with ScreenyFlow is to write a good video script. The script is your video’s backbone and determines the final product’s quality. A good video script should be informative, engaging, and understandable. If you’re struggling to come up with a script, you can use ChatGPT, a language model that can generate text based on your inputs, to help you brainstorm ideas.
Step 2: Enter the Script into ScreenyFlow and Select a Voice to Read
Once you have your script ready, the next step is to enter it into ScreenyFlow. Simply copy and paste your script into the text box provided. ScreenyFlow also allows you to select a voice to read your script. You can choose from a range of voices with different accents and intonations. This feature helps to give your video a professional touch.
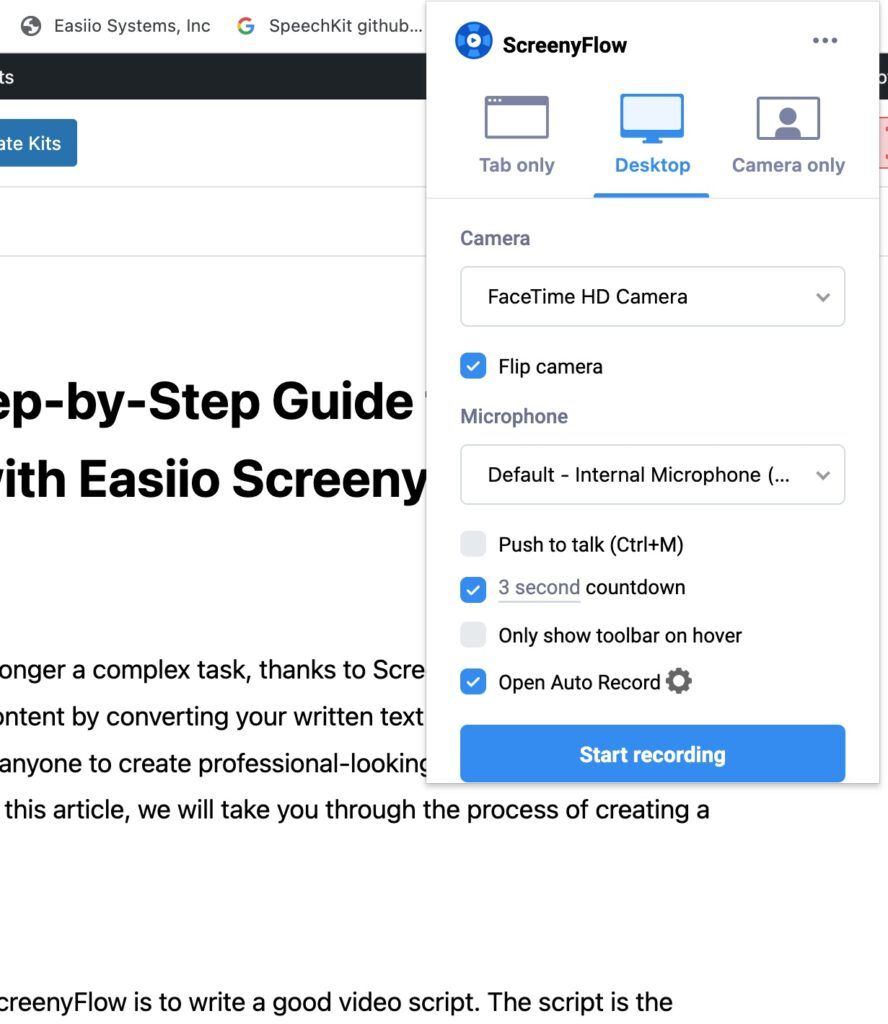
Step 3: Set the Recording Background
After selecting the voice to read your script, you can choose a recording background. You can either record your screen while you browse a website page or use ScreenyFlow’s video presentation features to play a PowerPoint presentation. These features help to make your video more engaging and informative.
Step 4: Start the Recording
Once you’ve selected your recording background, you can start the recording process. ScreenyFlow will automatically convert your script into a video with the voice-over reading your script. You can pause the recording at any time and make edits to your script or recording background.
Step 5: Upload the Video
After completing the recording, you can upload the video to Google Drive or YouTube, or you can download it to your local drive. This makes it easy to share your video on social media platforms, websites, or blogs.
The following video was created with the ScreenyFlow plugin using these steps. Signup for Sflow.io to get access to the preview of the ScreenyFlow.

Conclusion
In conclusion, ScreenyFlow is an innovative tool that allows you to create engaging video content without the need for any technical expertise. With its easy-to-use features, you can create professional-looking videos in a matter of minutes. Follow the steps outlined in this article, and you’ll be on your way to creating amazing videos that will captivate your audience. More reading about text to video.